Automatically create a thumbnail-preview of your live-stream every X minutes using FFmpeg
When you're showing your stream on a website, you may also want to use a thumbnail of the video-stream that is being streamed to the server at that very moment. We can accomplish this by instructing FFmpeg to create a new thumbnail every xx minutes. In this example, I show how to create a new thumbnail every minute. It's possible to create a new file for each thumbnail, but I choose to overwrite the one file every minute, because I want to refer to the thumbnail image from the website so it's easier to use a static name for this. In your nginx.conf file you will have to add this line to the application block that you want to grab.
sudo mkdir /var/livestream/thumbs
sudo chown -R www-data:www-data /var/livestream/thumbs
sudo nano /etc/nginx/nginx.conf
exec ffmpeg -i rtmp://localhost/$app/$name -vf fps=1/60 -s 480x270 -an -f image2 -y -vframes 1 /var/livestream/thumbs/$name_tmb.jpg;
This example will create a 480x270 thumbnail for every incoming stream on any application once every minute, and store a thumbnail file named after the stream key that was used, in /var/livestream/thumbs/
exec ffmpeg -i rtmp://localhost/$app/$name -vf fps=1/600 -s 480x270 -an -f image2 -y -vframes 1 /var/livestream/thumbs/$name_tmb.jpg;
This does the same as the first example, except it creates a new thumbnail every 10 minutes instead.
To make it accessible on the website, we'll add a virtual folder mapping to this folder in our virtual host file for our domain.
sudo nano /etc/nginx/sites-available/yourdomain.com.conf
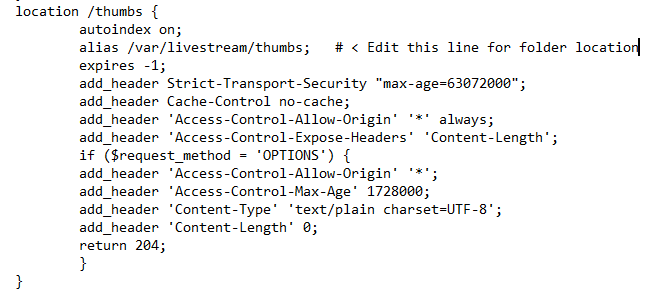
location /thumbs {
	alias /var/livestream/thumbs;	# Edit this if needed #
	autoindex on;
	expires -1;
	add_header Strict-Transport-Security "max-age=63072000";
	add_header Cache-Control no-cache;
	add_header 'Access-Control-Allow-Origin' '*' always;
	add_header 'Access-Control-Expose-Headers' 'Content-Length';
	if ($request_method = 'OPTIONS') {
	add_header 'Access-Control-Allow-Origin' '*';
	add_header 'Access-Control-Max-Age' 1728000;
	add_header 'Content-Type' 'text/plain charset=UTF-8';
	add_header 'Content-Length' 0;
	return 204;
	}
}
It should look something like this in your nginx.conf file:
sudo nginx -t
sudo systemctl restart nginx
When you start streaming now, a thumbnail should appear after a while in the folder that can be reached at https://youdomain.com/thumbs/, and a new thumbnail file will overwrite the current one every 10 minutes. Add this thumbnail image to your website, and it will always show the most recent thumbnail when the page is loaded.
<img src="https://yourdomain.com/thumbs/stream_tmb.jpg" alt="thumbnail preview">


Recent Comments