Install PHP 8.0 for Apache and Nginx on Ubuntu 20.04
To have your Ubuntu 20.04 server installed with the latest version of PHP is actually really easy. And I mean, super easy. See for yourself by reading the rest of this article. The only thing that has to be done is add the well-known Ondrej repository, like this:
sudo apt install software-properties-common
sudo add-apt-repository ppa:ondrej/php
sudo apt update

Install PHP8 as module for Apache
sudo apt install php8.0 libapache2-mod-php8.0
Don't forget to restart Apache after this:
sudo systemctl restart apache2
Setup PHP-FPM for Apache
sudo apt install php8.0-fpm libapache2-mod-fcgid
Afterward, you'll need to enable the modules for Apache like this:
sudo a2enmod proxy_fcgi setenvif
sudo a2enconf php8.0-fpm
sudo systemctl restart apache2
Installing PHP 8.0 for Nginx
Nginx doesn't have inbuilt support for PHP so we'll just use fpm and have it run as a separate service.
sudo apt install php8.0-fpm
You can now edit the Nginx server block and add the following lines so that Nginx can actually process PHP files:
server {
    # . . . your other code

    location ~ \.php$ {
        include snippets/fastcgi-php.conf;
        fastcgi_pass unix:/run/php/php8.0-fpm.sock;
    }
}
We must also edit the php.ini for php-fpm for use with Nginx. This is not required if you only use Apache.
sudo nano /etc/php/8.0/fpm/php.ini
Search for "cgi.fix_pathinfo" (it's on line 807 approx) and uncomment this line and change the variable to "0" so it looks like this:
cgi.fix_pathinfo=0Save the file and restart the php-fpm process. And of course we'll need to restart Nginx to load this new config we changed earlier.
sudo systemctl restart nginx php8.0-fpm
Installing additional PHP extensions
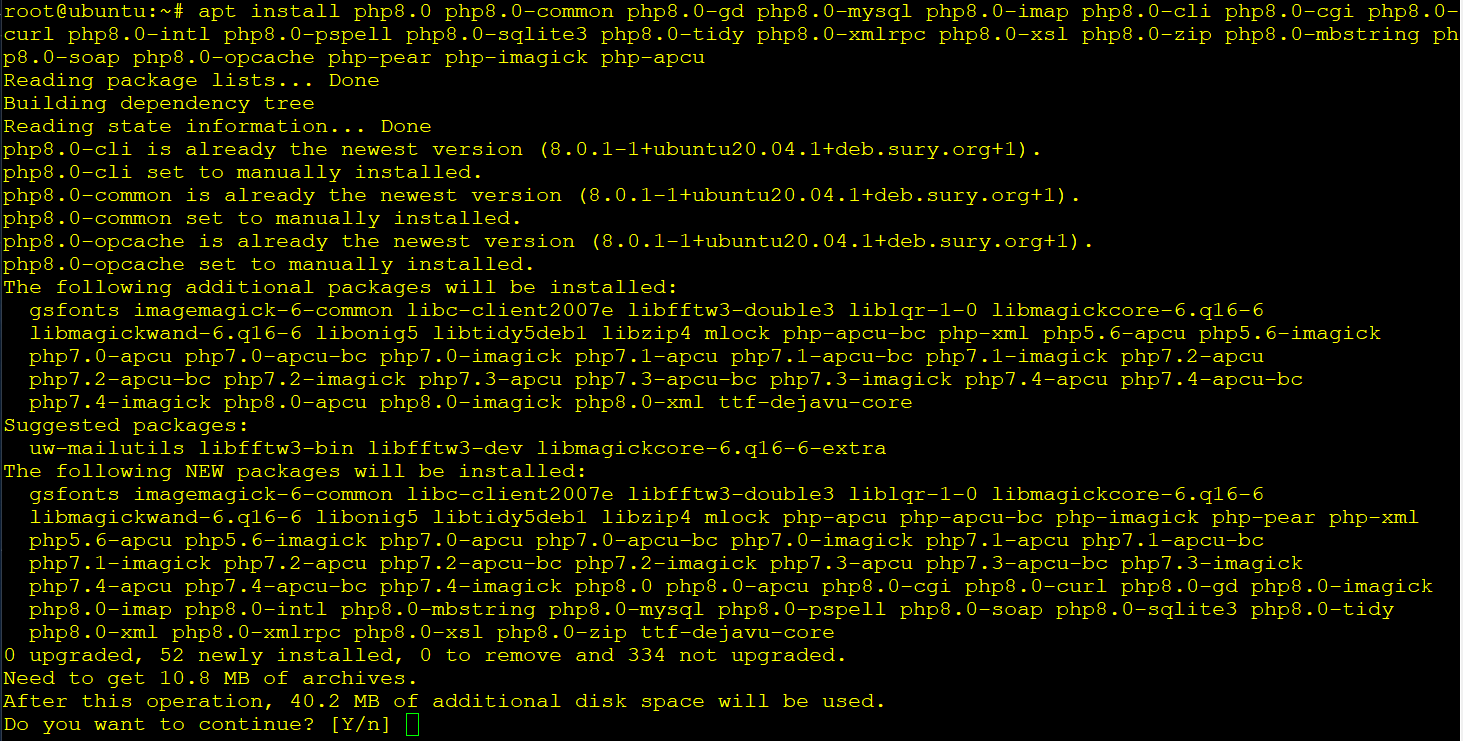
PHP can be enhanced by installing some PHP extensions, although this is not required. A lot of extensions exist, and it is for you to decide if you need this functionality. As an example, we'll install these handful of very popular extensions.
sudo apt install -y php8.0 php8.0-common php8.0-gd php8.0-mysql php8.0-imap php8.0-cli php8.0-cgi php8.0-curl php8.0-intl php8.0-pspell php8.0-sqlite3 php8.0-tidy php8.0-xmlrpc php8.0-xsl php8.0-zip php8.0-mbstring php8.0-soap php8.0-opcache php-pear php-imagick php-apcu
Test it out
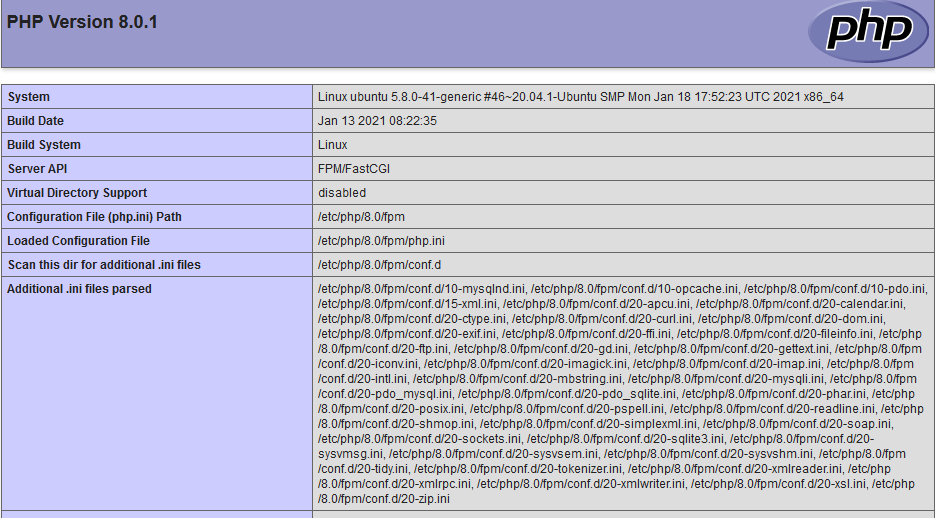
Let's see if it works! Create a new file in your web server's root folder.
sudo nano /var/www/html/info.php
Paste this one line of code in the new file and save it:
<?php phpinfo();
To set the proper user and group, use this command
sudo chown -R www-data:www-data /var/www/html
Now open a browser and go to this address: http://your_server_ip/info.php
You'll see a page looking like the screenshot below. This means it's working! Good job!


Recent Comments